
Table data
- PostgreSQL
- MySQL
- MariaDB
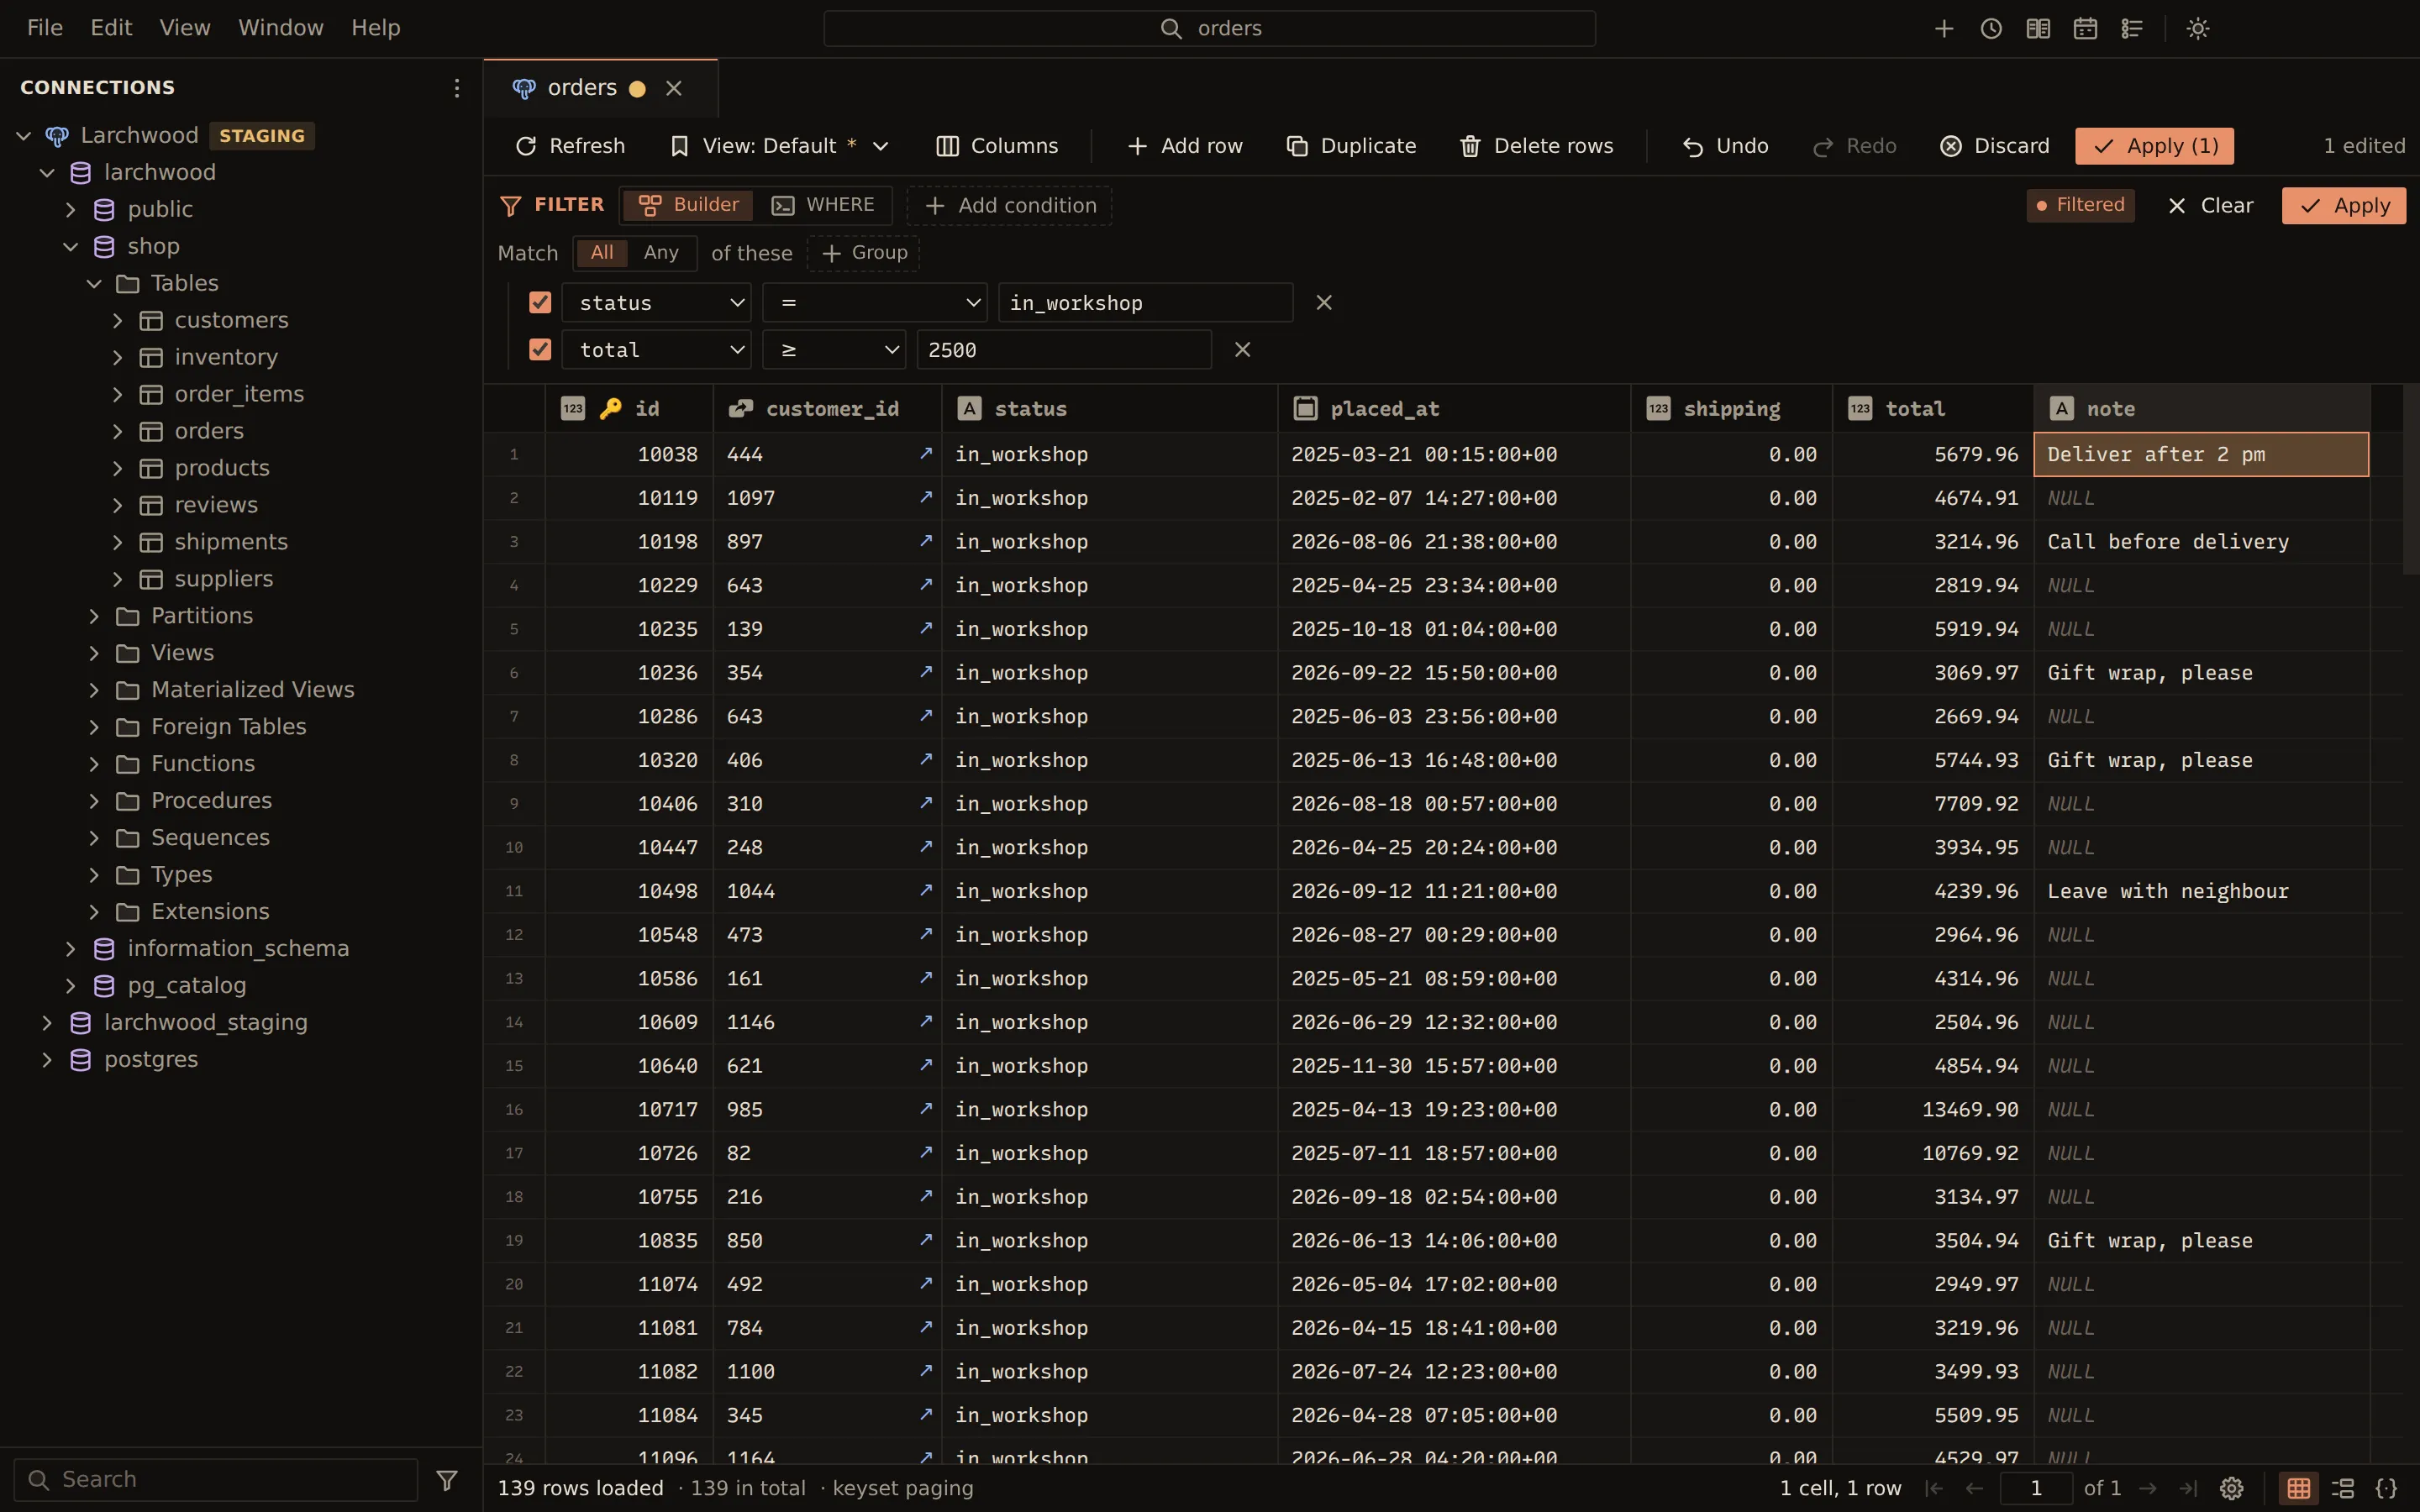
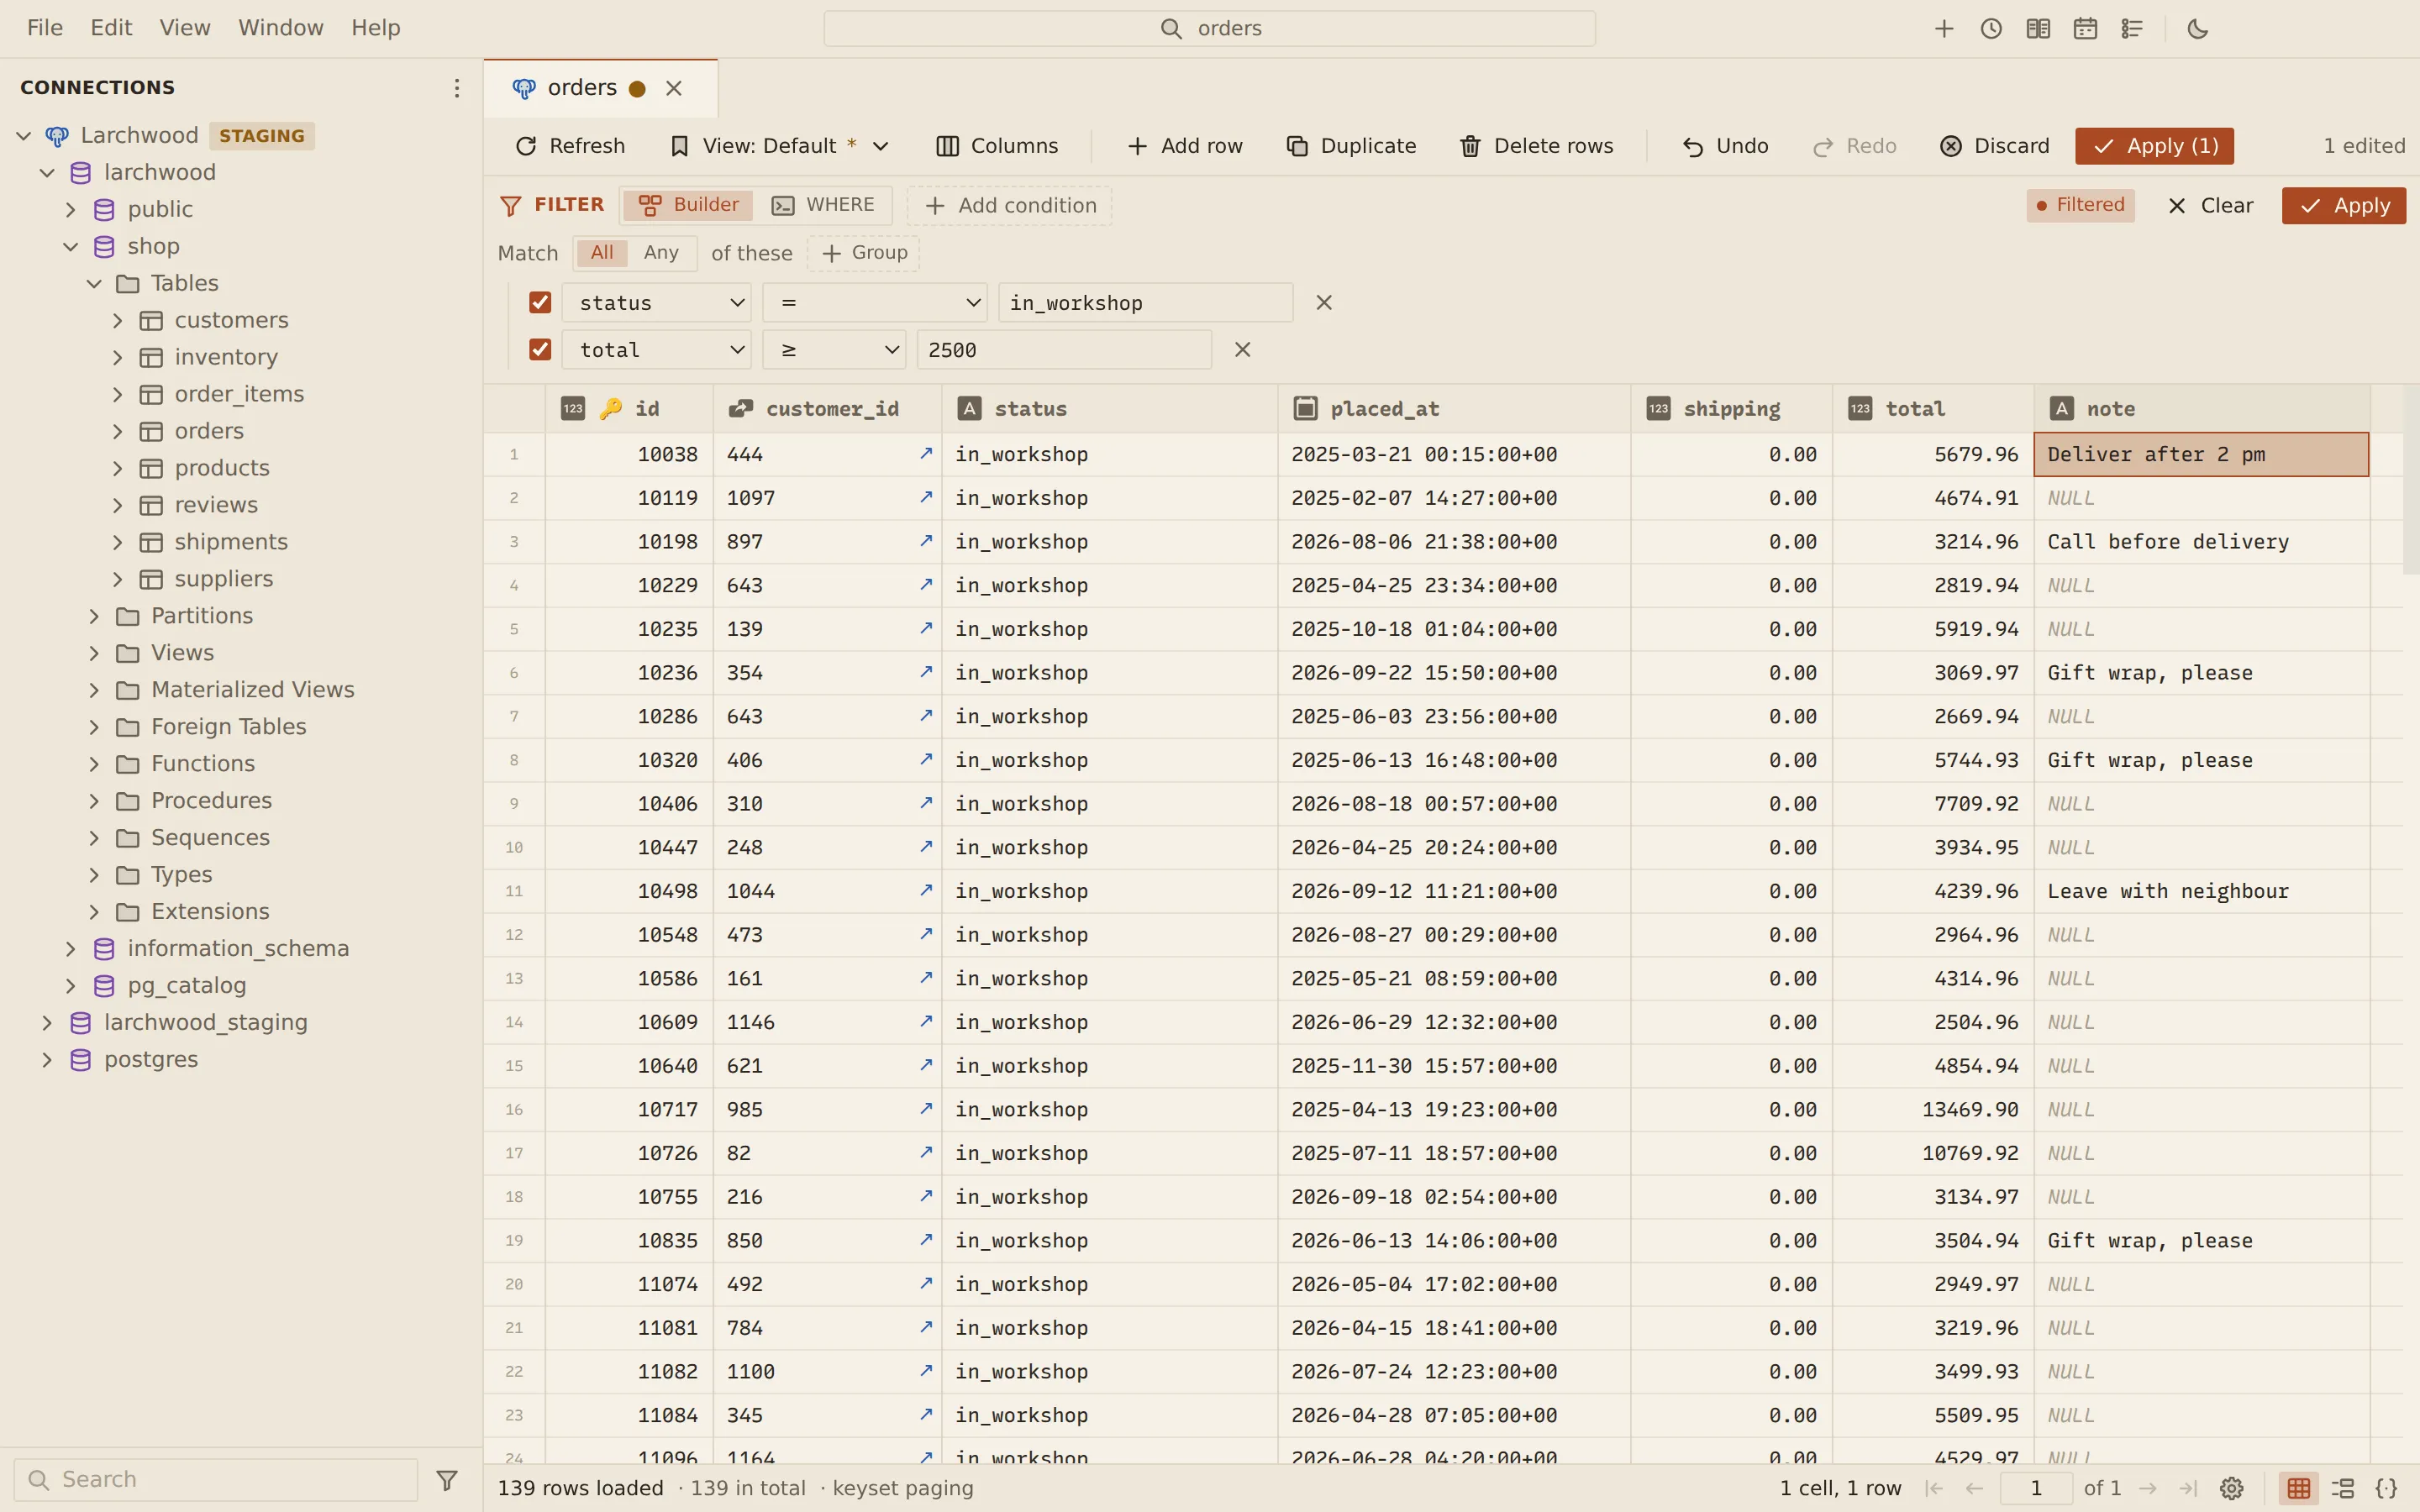
A table opens in an editable grid. Sort and filter run on the server, rows come one page at a time, and every edit, insert and delete is staged until you apply it. Before anything is written, Querybara shows you the SQL it will run, and then runs it in one transaction.
Open a table
Section titled “Open a table”- Sidebar. Click a table to open its data. Click its chevron instead to expand its columns and indexes. Right-click it (or use its Actions button) for Open data.
- Objects tab. Click a database, schema or folder in the sidebar to list its objects, then double-click a table, or select it and press Enter. See Objects view.
- Go to Table or Collection. Press Ctrl + P (Cmd + P on macOS), type a few letters of the table’s name and press Enter. It searches the tables and views of your open connections. See Command palette.
Opening a table that is already open brings its tab to the front.
A click on a view opens a query tab that selects its first 1,000 rows and runs at once. The view’s menu item is Open rows.
Sort and filter
Section titled “Sort and filter”Sort. Click a column header to sort by it on the server: ascending, then descending, then back to unsorted. Shift-click another header to add it to the sort. The header menu also has Sort ascending, Sort descending and Clear sort.
Filter. The filter bar above the grid has two modes, Builder and WHERE.
- In Builder, choose Add condition. Pick the column, the operator and the value. For text operators, Aa matches upper and lower case exactly.
- Add more conditions. The All / Any switch (“Match All of these”) sets how they combine, and Group adds a nested group with its own switch and its own Condition button.
- Or choose WHERE and type a condition, for example
status = 'active' AND total > 100. - Choose Apply, or press Enter in any field of the bar.
The operators offered depend on the column’s type. Clear a condition’s checkbox to leave it out without removing it. A problem in a condition shows under it, and nothing runs until it is fixed.
Filtered shows while a filter is applied. Clear removes every condition and shows all
rows. A raw WHERE condition must be a single condition: a ; or a second statement is refused
before anything is sent.
Querybara reads the rows again when you sort, filter, switch saved views, change the page or its size, or choose Refresh (F5). If you have staged changes, it asks first, because reloading discards them.
Pages and row counts
Section titled “Pages and row counts”The grid shows one page of rows at a time, 1,000 rows by default. The pager at the right of the footer moves between pages:
| Control | What it does |
|---|---|
| First page, Previous page | Go to the first page, or one page back |
| Page number | Type a page number and press Enter to go to it |
| Next page, Last page | Go one page on, or to the last page |
| Page size (the gear) | Rows per page: 100, 500, 1,000, 5,000 or 10,000 |
The page size you choose applies to every table, and Querybara remembers it. Row numbers count on from the pages before, so the first row of page 2 is row 1,001 at the default size.
The footer shows how many rows the page holds and the table’s total:
- ≈ … in total is the server’s estimate.
- Count exactly runs a count; Counting… Cancel stops it.
- When the first page holds every row, the total is exact without counting.
- With the total known, the pager shows the number of pages (“of 3”).
Last page needs the exact total, so it counts the rows first when the total is not known yet. Without a known total, a page number past the end shows an empty page.
Querybara steps between neighbouring pages by key (keyset paging): the next page continues after the last row the server returned, and the previous page before the first, so a step stays cheap however far into the table you are. A page chosen by number is read at its offset. When a table cannot be paged by key, the footer shows offset paging, with the reason in its tooltip, and every page is read at its offset.
Select cells to see their count in the footer, and for numbers their Sum, Avg, Min and Max.
Grid, form and JSON views
Section titled “Grid, form and JSON views”Switch views with the Grid, Form and JSON buttons at the right corner of the footer.
| View | What it shows |
|---|---|
| Grid | The rows, with staged changes highlighted: edited cells tinted, new rows green, deleted rows red and struck through |
| Form | One record at a time with ‹ Previous and Next ›, each field editable with the same editors as the grid |
| JSON | The rows of the page as JSON (the first 1,000), with Copy |
Record numbers in the form view count on from the pages before. ‹ Previous and Next › cross into the neighbouring page at either end of a page.
Edit rows
Section titled “Edit rows”- Select a cell and press Enter to open its editor. Change the value and press Enter, or choose Save.
- Choose Add row for a new row, or select rows and choose Duplicate or Delete rows.
- Use Undo (Ctrl + Z) and Redo (Ctrl + Shift + Z, or Ctrl + Y) as needed. On macOS use Cmd.
- Choose Apply (n). The toolbar shows what is staged, for example “1 edited · 1 new · 1 deleted”.
- Read the SQL in the Apply changes dialog, then choose Apply.
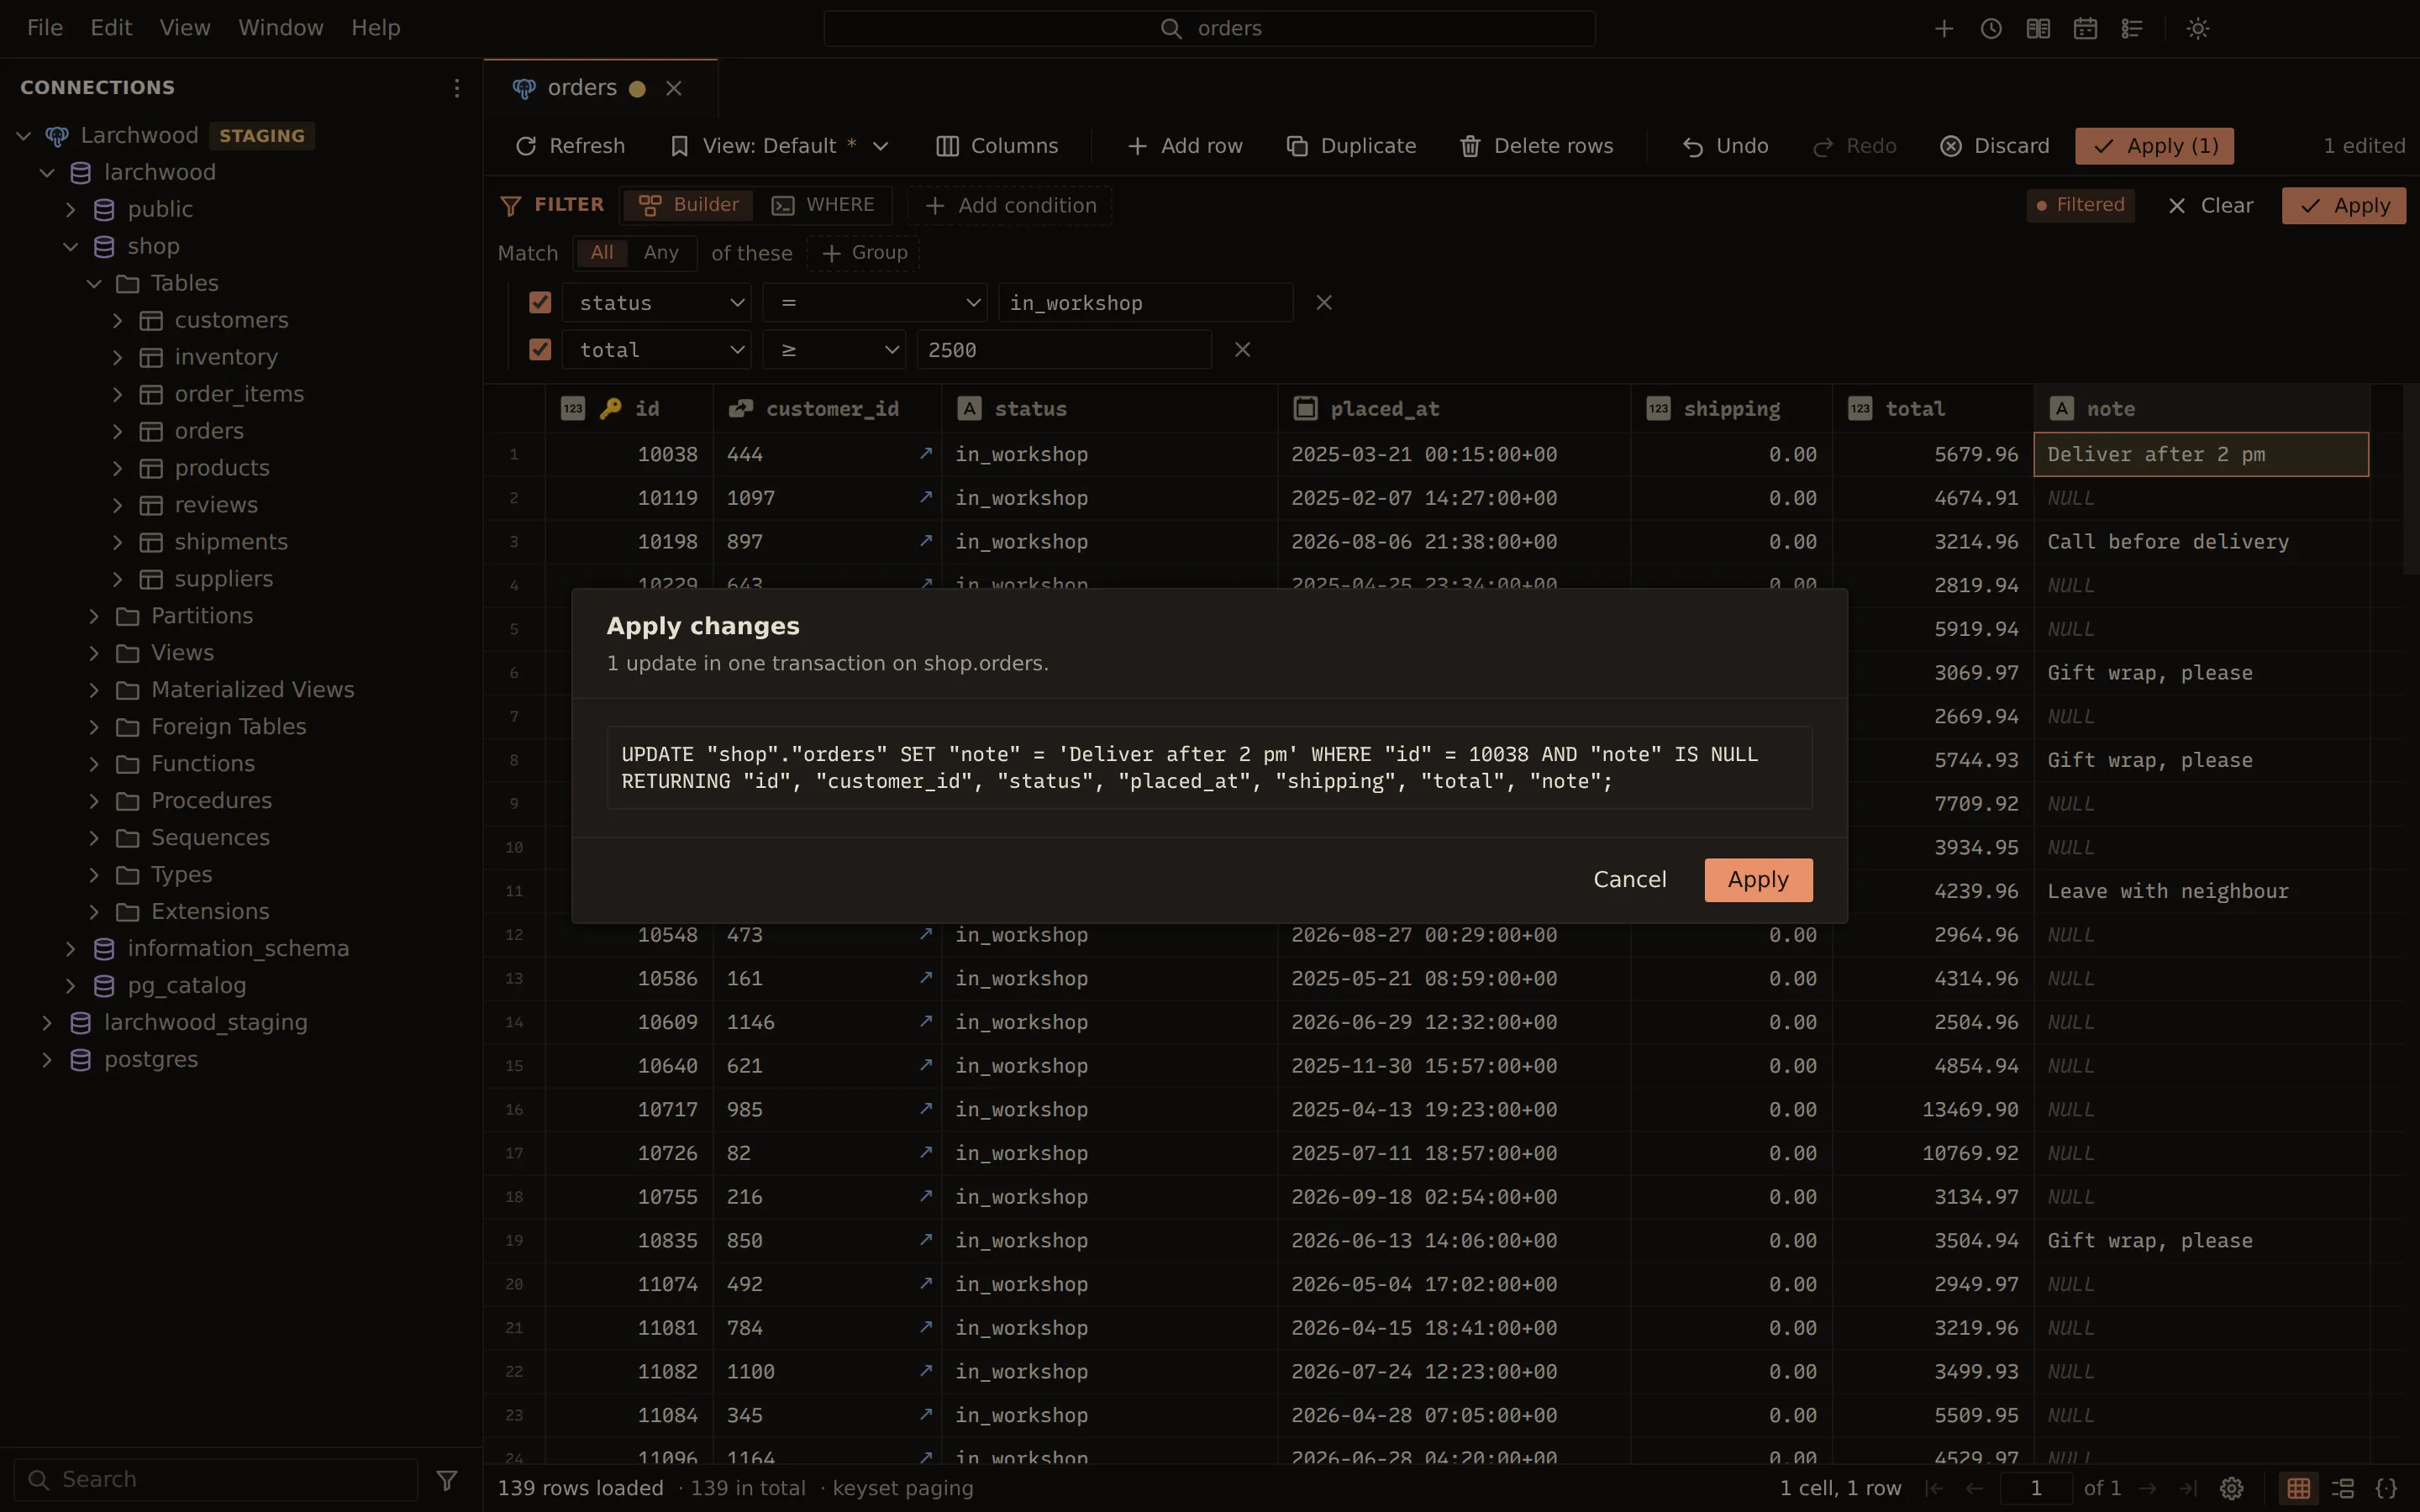
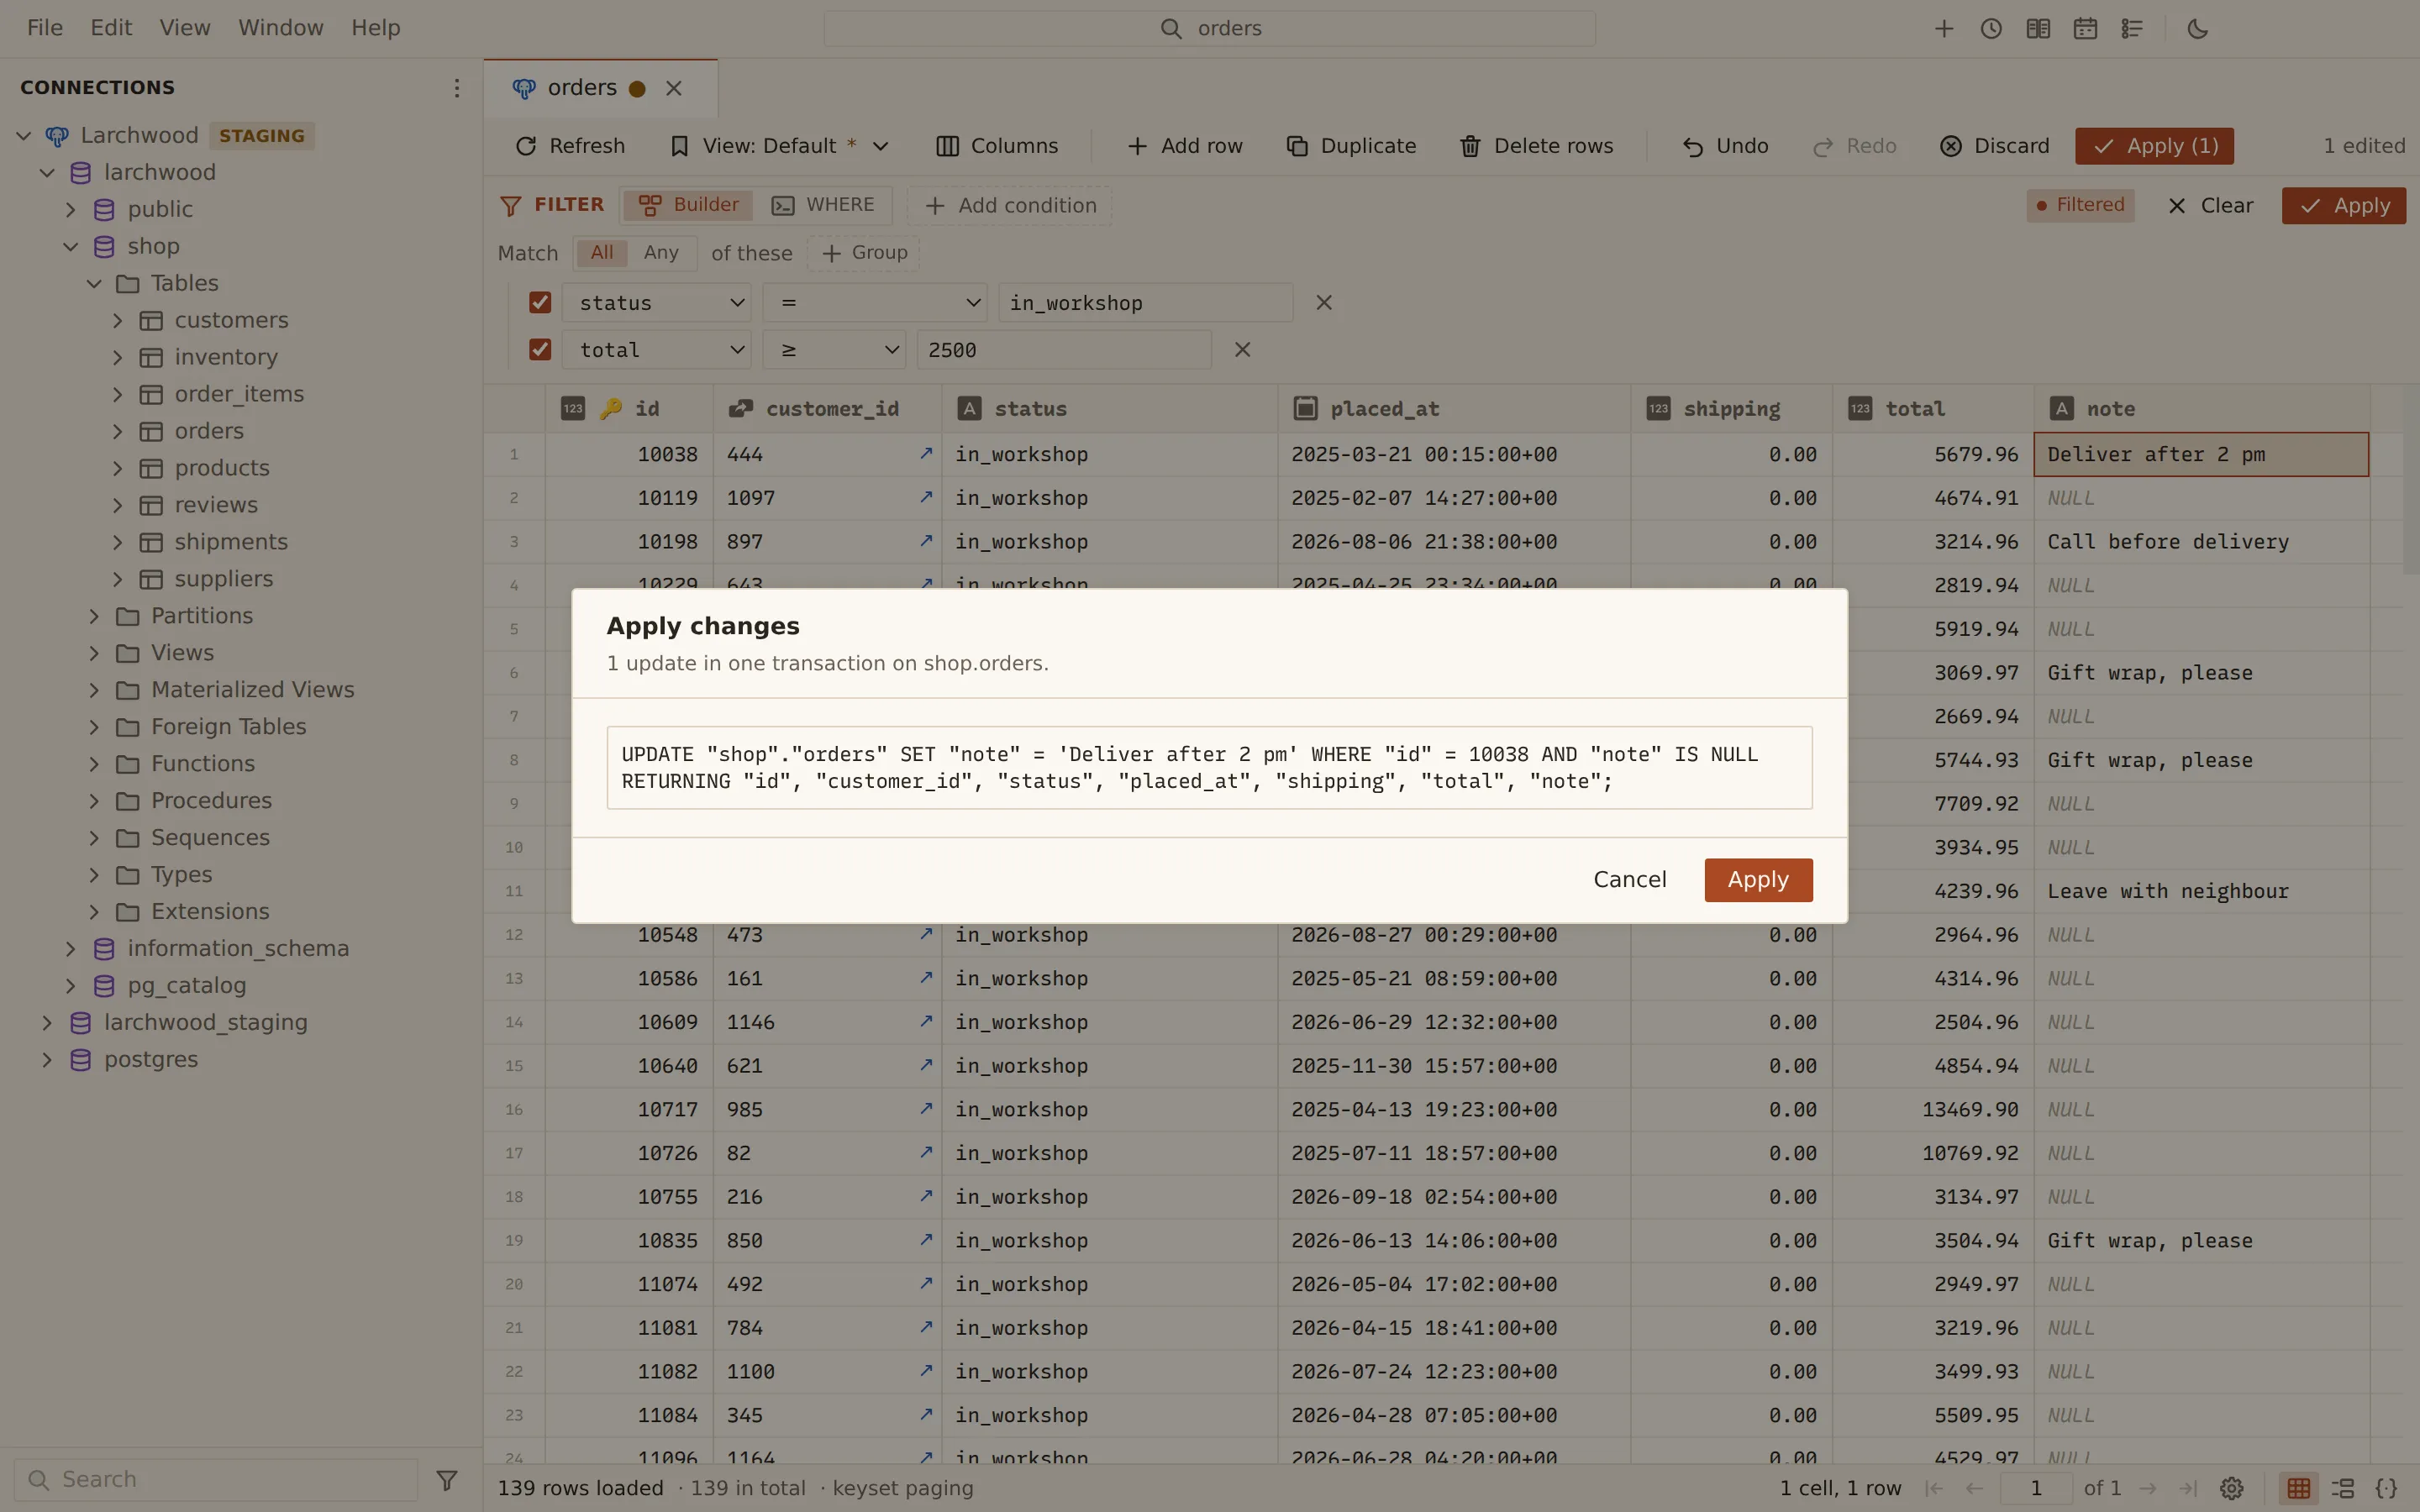
The changes run in one transaction. Each UPDATE and DELETE must touch exactly one row; if a
row was changed or deleted by someone else since it was loaded, everything is rolled back and the
dialog says “Someone else changed these rows.” Choose Discard and reload to load the current
rows, or Keep my changes to go back to your staged edits.
Discard drops every staged change. Right-click rows and choose Revert changes to drop the changes of those rows only.
Cell editors
Section titled “Cell editors”The editor fits the column’s type: text, numbers checked against their range, a toggle for booleans, date and time pickers next to the text, pickers for enum and set values, a JSON editor that validates and formats, and a hex view for binary values. A value that does not fit the column cannot be saved.
NULL, an empty string and DEFAULT are separate states, each with its own button: Set NULL (for nullable columns), Empty and Set DEFAULT. The grid draws them differently.
To set many cells at once, select them, right-click and choose Set NULL or Set DEFAULT. Each is unavailable when the column is not nullable or has no default.
Tables without a key
Section titled “Tables without a key”A table needs a primary key or a unique key for its rows to be edited. Without one, the grid is read-only and offers Edit by matching all columns…. Rows are then matched on every column; if several rows are identical, only one of them changes. A connection marked Read-only in its profile lets you view and copy rows but not change them.
Foreign keys
Section titled “Foreign keys”- Look up a value. In the editor of a foreign key column, type in Search referenced rows to search the referenced table by key or name, and pick a row.
- Follow a link. A foreign key value has a ↗ link at the right edge of its cell. Click it, or right-click the cell and choose Open referenced row, to open the referenced table filtered to that row. In the form view, the link is next to the field.
The cell menu
Section titled “The cell menu”Right-click a cell, or a selection, to open the menu at the pointer. Its header names the column and its type, and the number of rows when you selected several.
| Item | What it does |
|---|---|
| Set NULL, Set DEFAULT | Set the selected cells of that column |
| Open referenced row | Open the row a foreign key value points to |
| Copy | Copy the selection as TSV |
| Copy as | Copy the selection in another format (below) |
| Add row, Duplicate row, Revert changes | Add a row, copy the selected rows as new rows, drop their staged changes |
| Delete row | Stage the selected rows for deletion |
Set NULL, Set DEFAULT and the row items show only when the table can be edited. With several rows selected, the row items read Duplicate 3 rows and Delete 3 rows.
Copy and paste
Section titled “Copy and paste”Select cells or rows, right-click, and choose Copy, or a format under Copy as. Copy writes TSV, and its key is Ctrl + C (Cmd + C on macOS).
| Format | Use it for |
|---|---|
| TSV (Excel, Sheets) | Pasting into a spreadsheet |
| CSV | RFC 4180 CSV |
| JSON | An array of objects |
| Markdown table | Documents and issues |
| INSERT statements | Re-creating the rows in SQL |
| UPDATE statements | Setting the rows’ values by key (tables with a key) |
Paste from a spreadsheet. Copy cells in Excel or Google Sheets, select the cell where the paste should start, and press Ctrl + V. Pasted values overwrite cells from there, and rows beyond the last one become new rows. Each value is checked against its column; a value that does not fit is not pasted, and selecting that cell shows why in the footer. The pasted changes are staged like any other edit.
Arrange columns and save views
Section titled “Arrange columns and save views”- Drag a header to move a column, and drag its edge to resize it.
- The header menu has Hide column, Pin column and Reset width.
- Columns in the toolbar lists every column to show, hide, pin and reorder; Show all and Reset columns undo your changes.
A saved view keeps the columns (order, visibility, pins and widths), the sort and the filter of a table.
- Arrange the grid, sort and filter it.
- Choose View: Default in the toolbar, then Save view as….
- Name the view. Tick Open the table with this view to make it the one the table opens with.
- Choose Save view.
The View menu switches between Default and your saved views. An asterisk on the button means the grid differs from the applied view. From the same menu, save changes into the applied view, choose whether the table opens with it, reset the grid to it, or delete it.
Related
Section titled “Related”Documents Querybara 0.1.1 · built frombc9f5aa