
Your first connection
- PostgreSQL
- MySQL
- MariaDB
- MongoDB
- Redis / Valkey
- Elasticsearch
A connection profile holds everything Querybara needs to reach one server: the engine, the endpoint, the user, how the password is kept, TLS, and an optional SSH tunnel or proxy. A new connection takes two steps: first the database engine, then the settings in tabs. This page walks through a PostgreSQL connection; the other engines follow the same steps.
Choose the engine
Section titled “Choose the engine”- At the top of the Connections side bar, open the menu (Connection actions) and choose New connection. With no connections yet, you can also choose Create a connection in the side bar. The New connection dialog opens on Choose a database.
- Choose the engine’s card. Each card shows the engine, its family and its default port. The engine of the connection you saved last is picked to start, or PostgreSQL when there is none. Search narrows the cards.
- Choose Next, double-click the card, or press Enter. The arrow keys move between the cards.
If you have a connection URI, paste it into Paste a URI to fill the form under the cards and choose Fill from URI (or press Enter). The URI names the engine, so the dialog goes straight to the form, filled in. See Import and export.
Fill in the settings
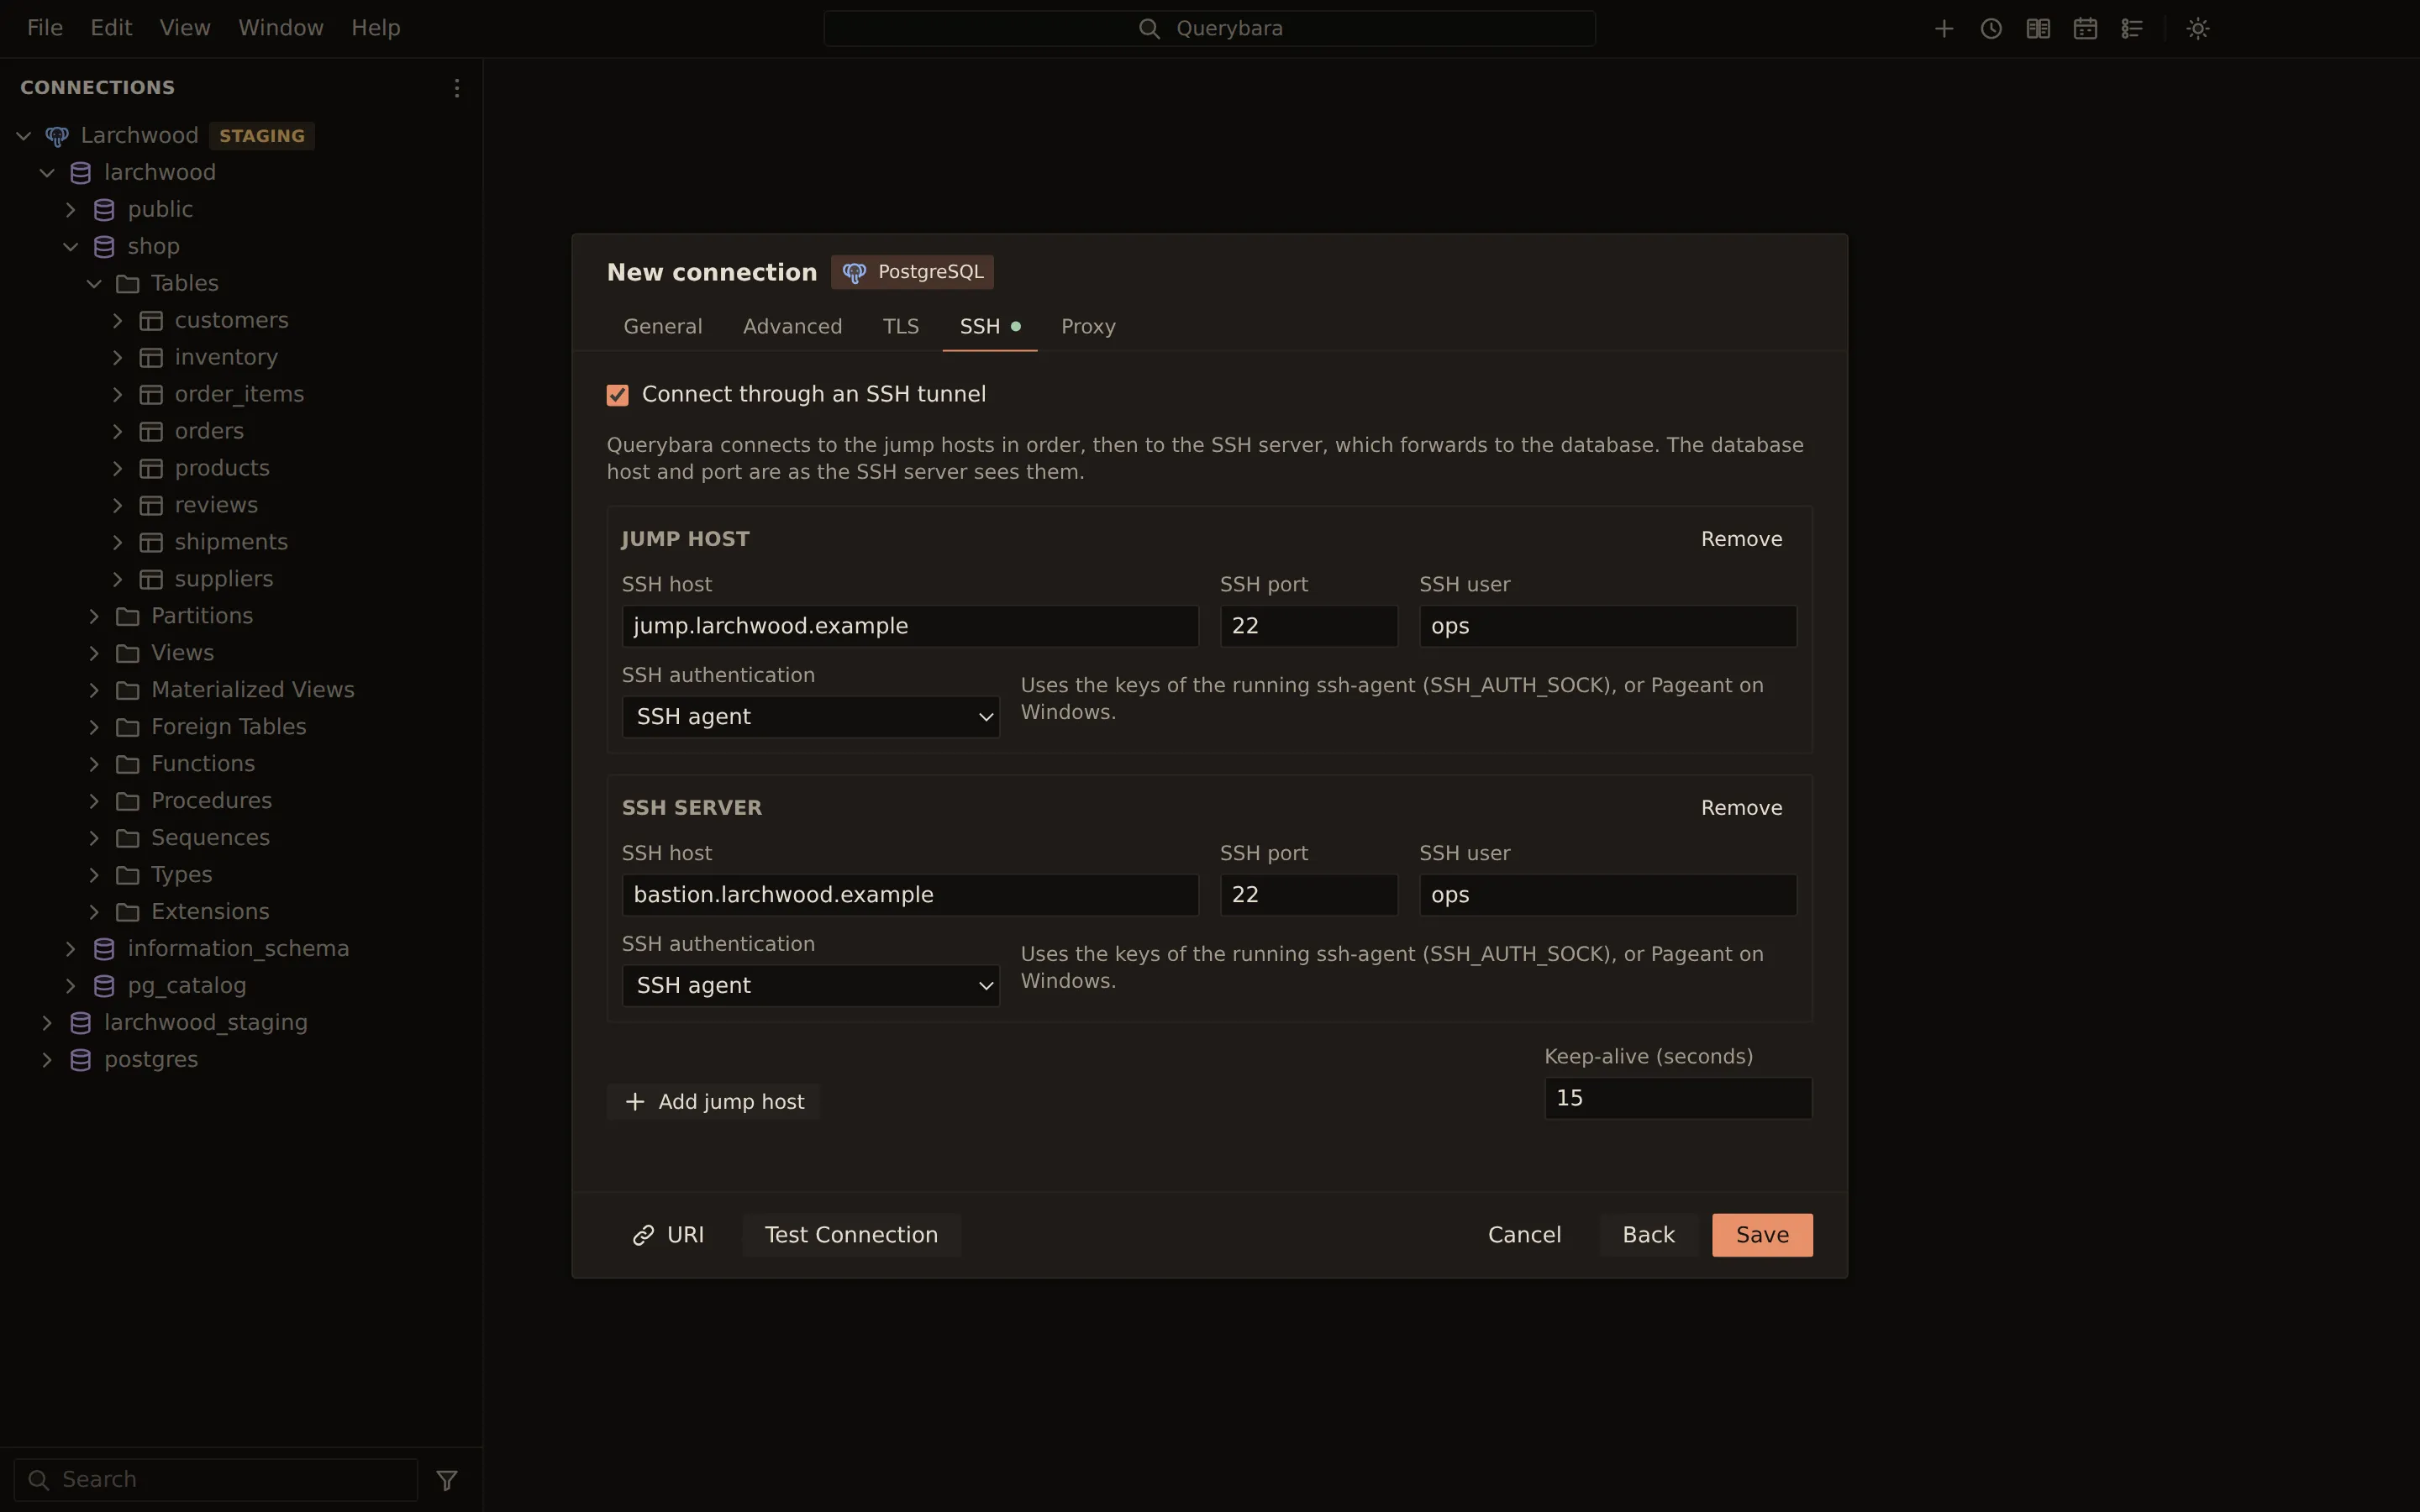
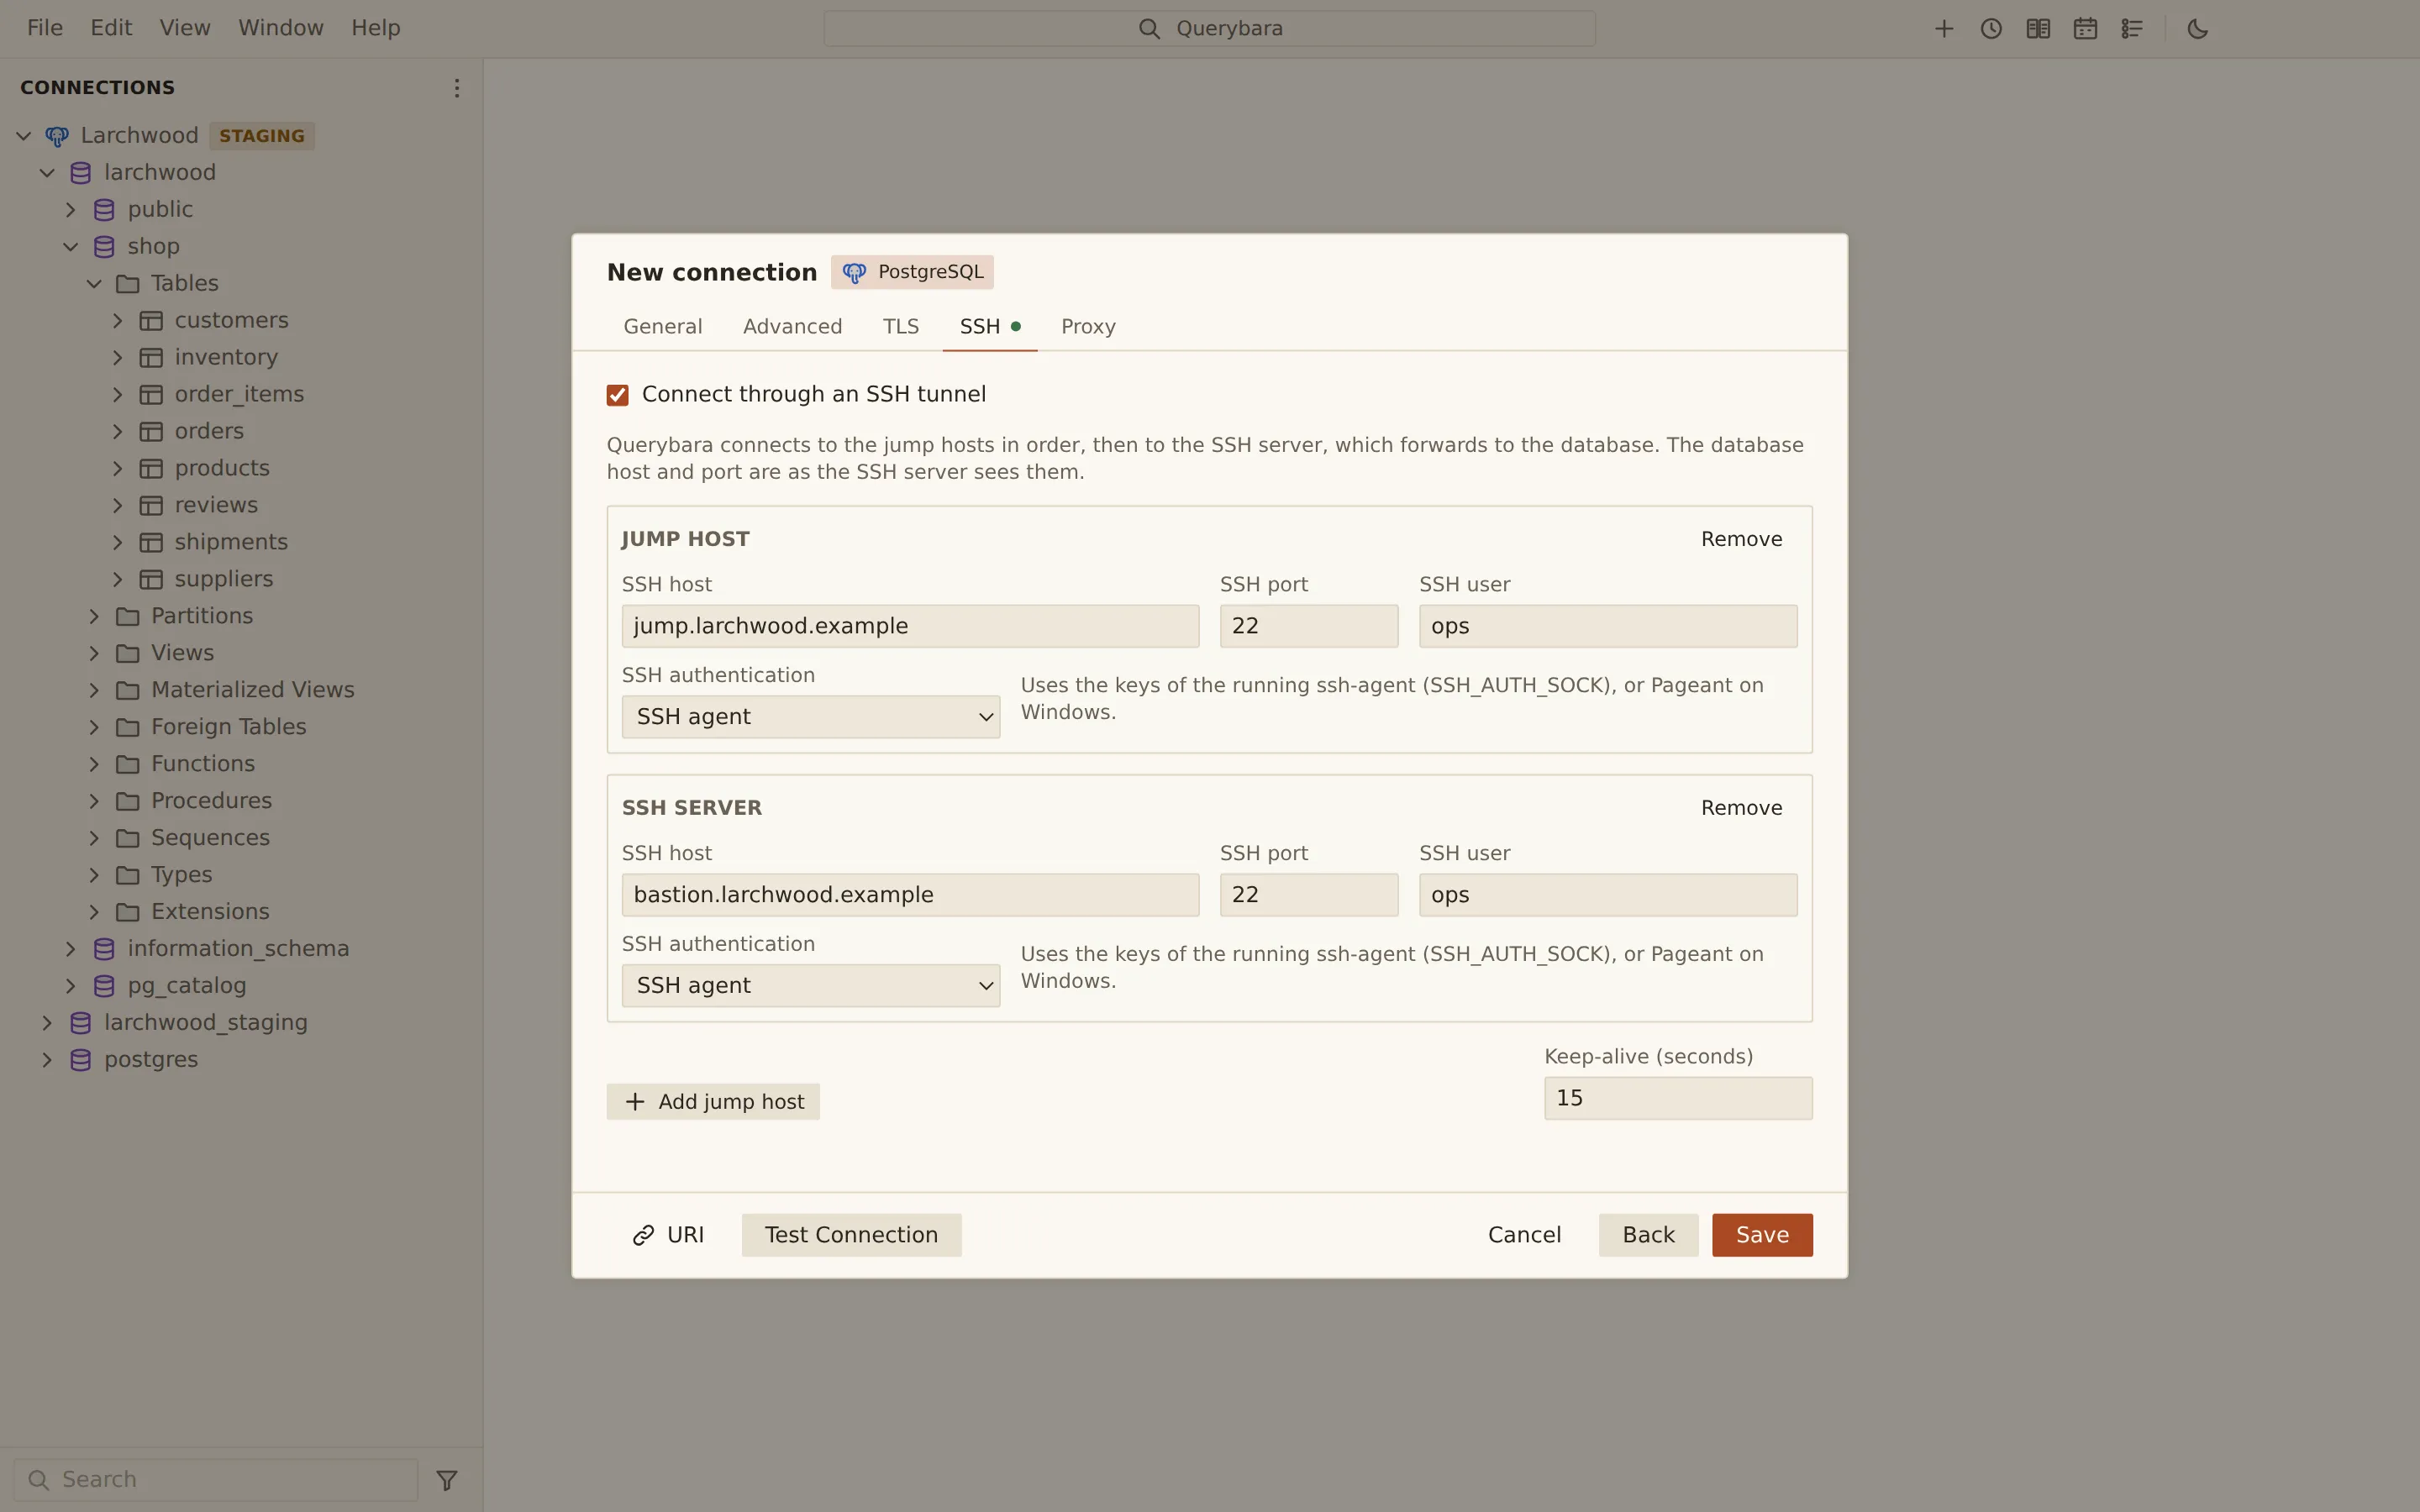
Section titled “Fill in the settings”The form has five tabs: General, Advanced, TLS, SSH and Proxy. For a server on your own computer or in your network, General is often all you need.
- On General, type a Name.
- Under Connect with, keep Host and port and fill in Host and Port. They start
at
localhostand the engine’s default port. - Optionally type a Database, then the User and Password.
- Choose how the password is kept under Password storage: Save in the OS keychain, Remember for this session or Ask every time. See Passwords and keychain.
- Optionally set the Environment (Development to start) and the Folder.
- If the server needs TLS, open the TLS tab and choose a TLS mode. A new connection starts with Disable TLS, unless a pasted URI asks for TLS. See TLS modes.
The engine shows next to the dialog’s title. To pick another one, choose Back: the dialog returns to the cards and keeps what you typed.
Test the connection
Section titled “Test the connection”Choose Test Connection at the bottom of the dialog. Querybara checks the connection one step at a time (DNS lookup, TCP connect, SSH tunnel, TLS handshake, Authentication, Ping, Server version) and shows each result as it arrives. When every step passes, the dialog shows Connection succeeded.
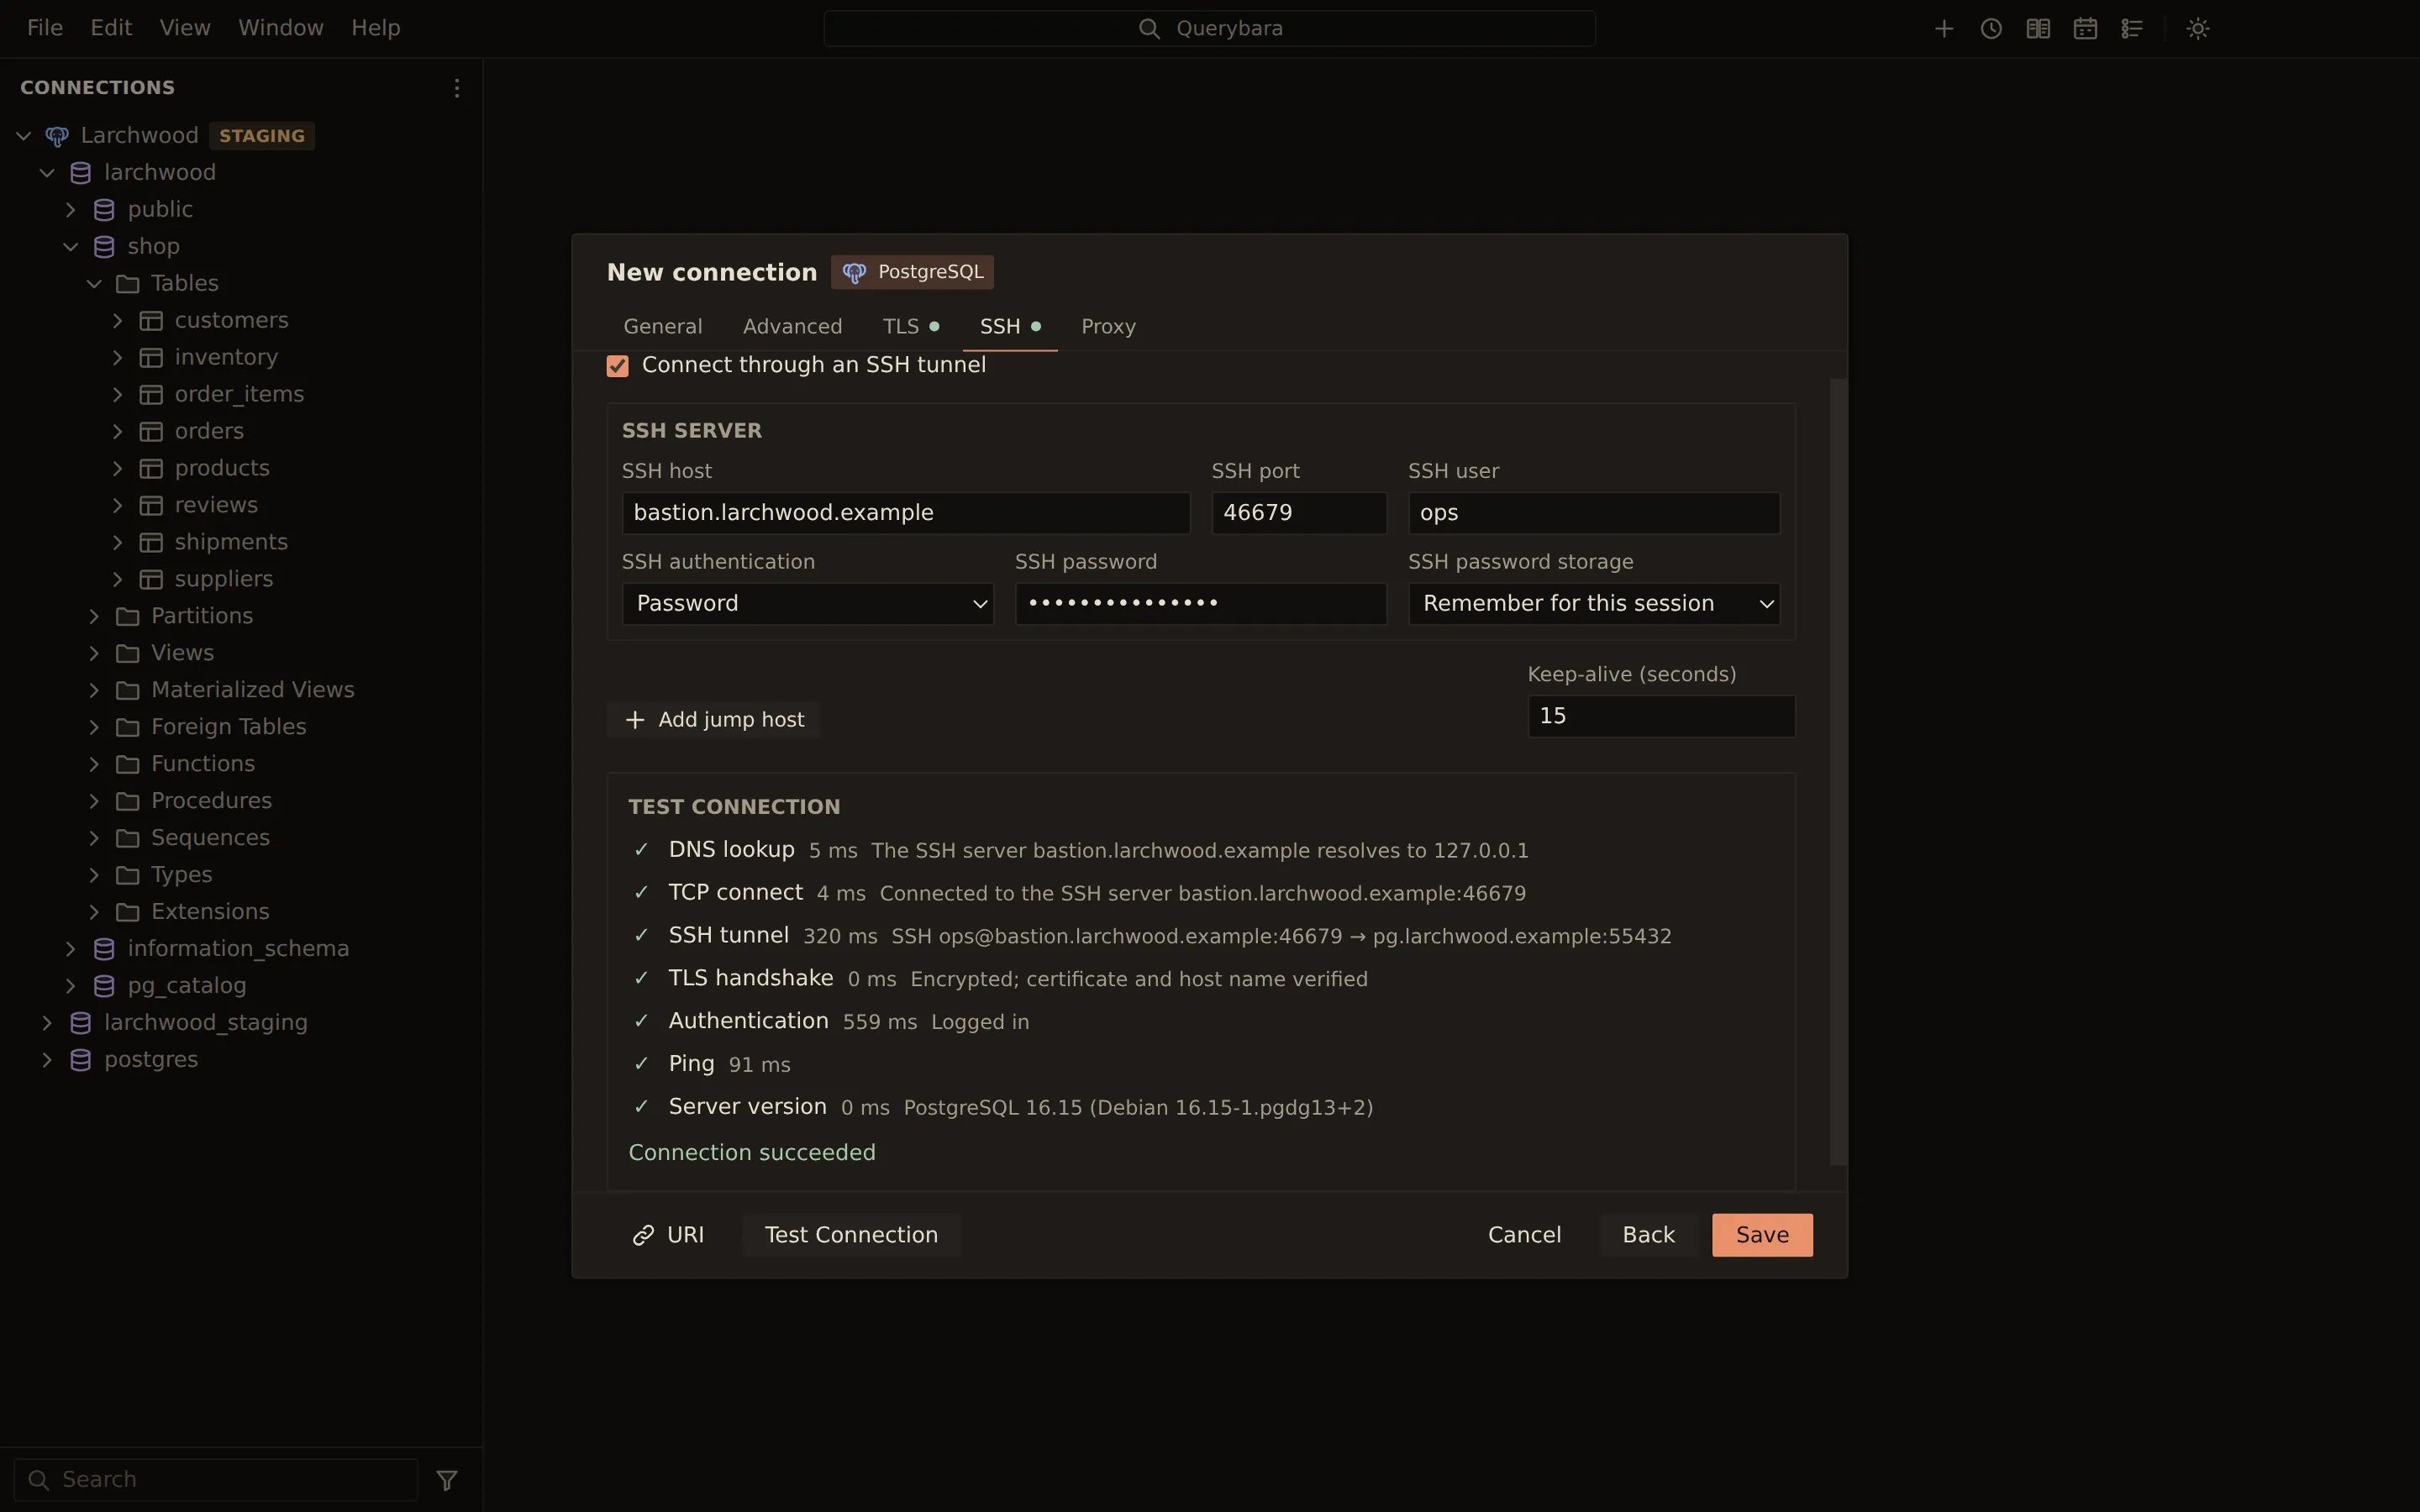
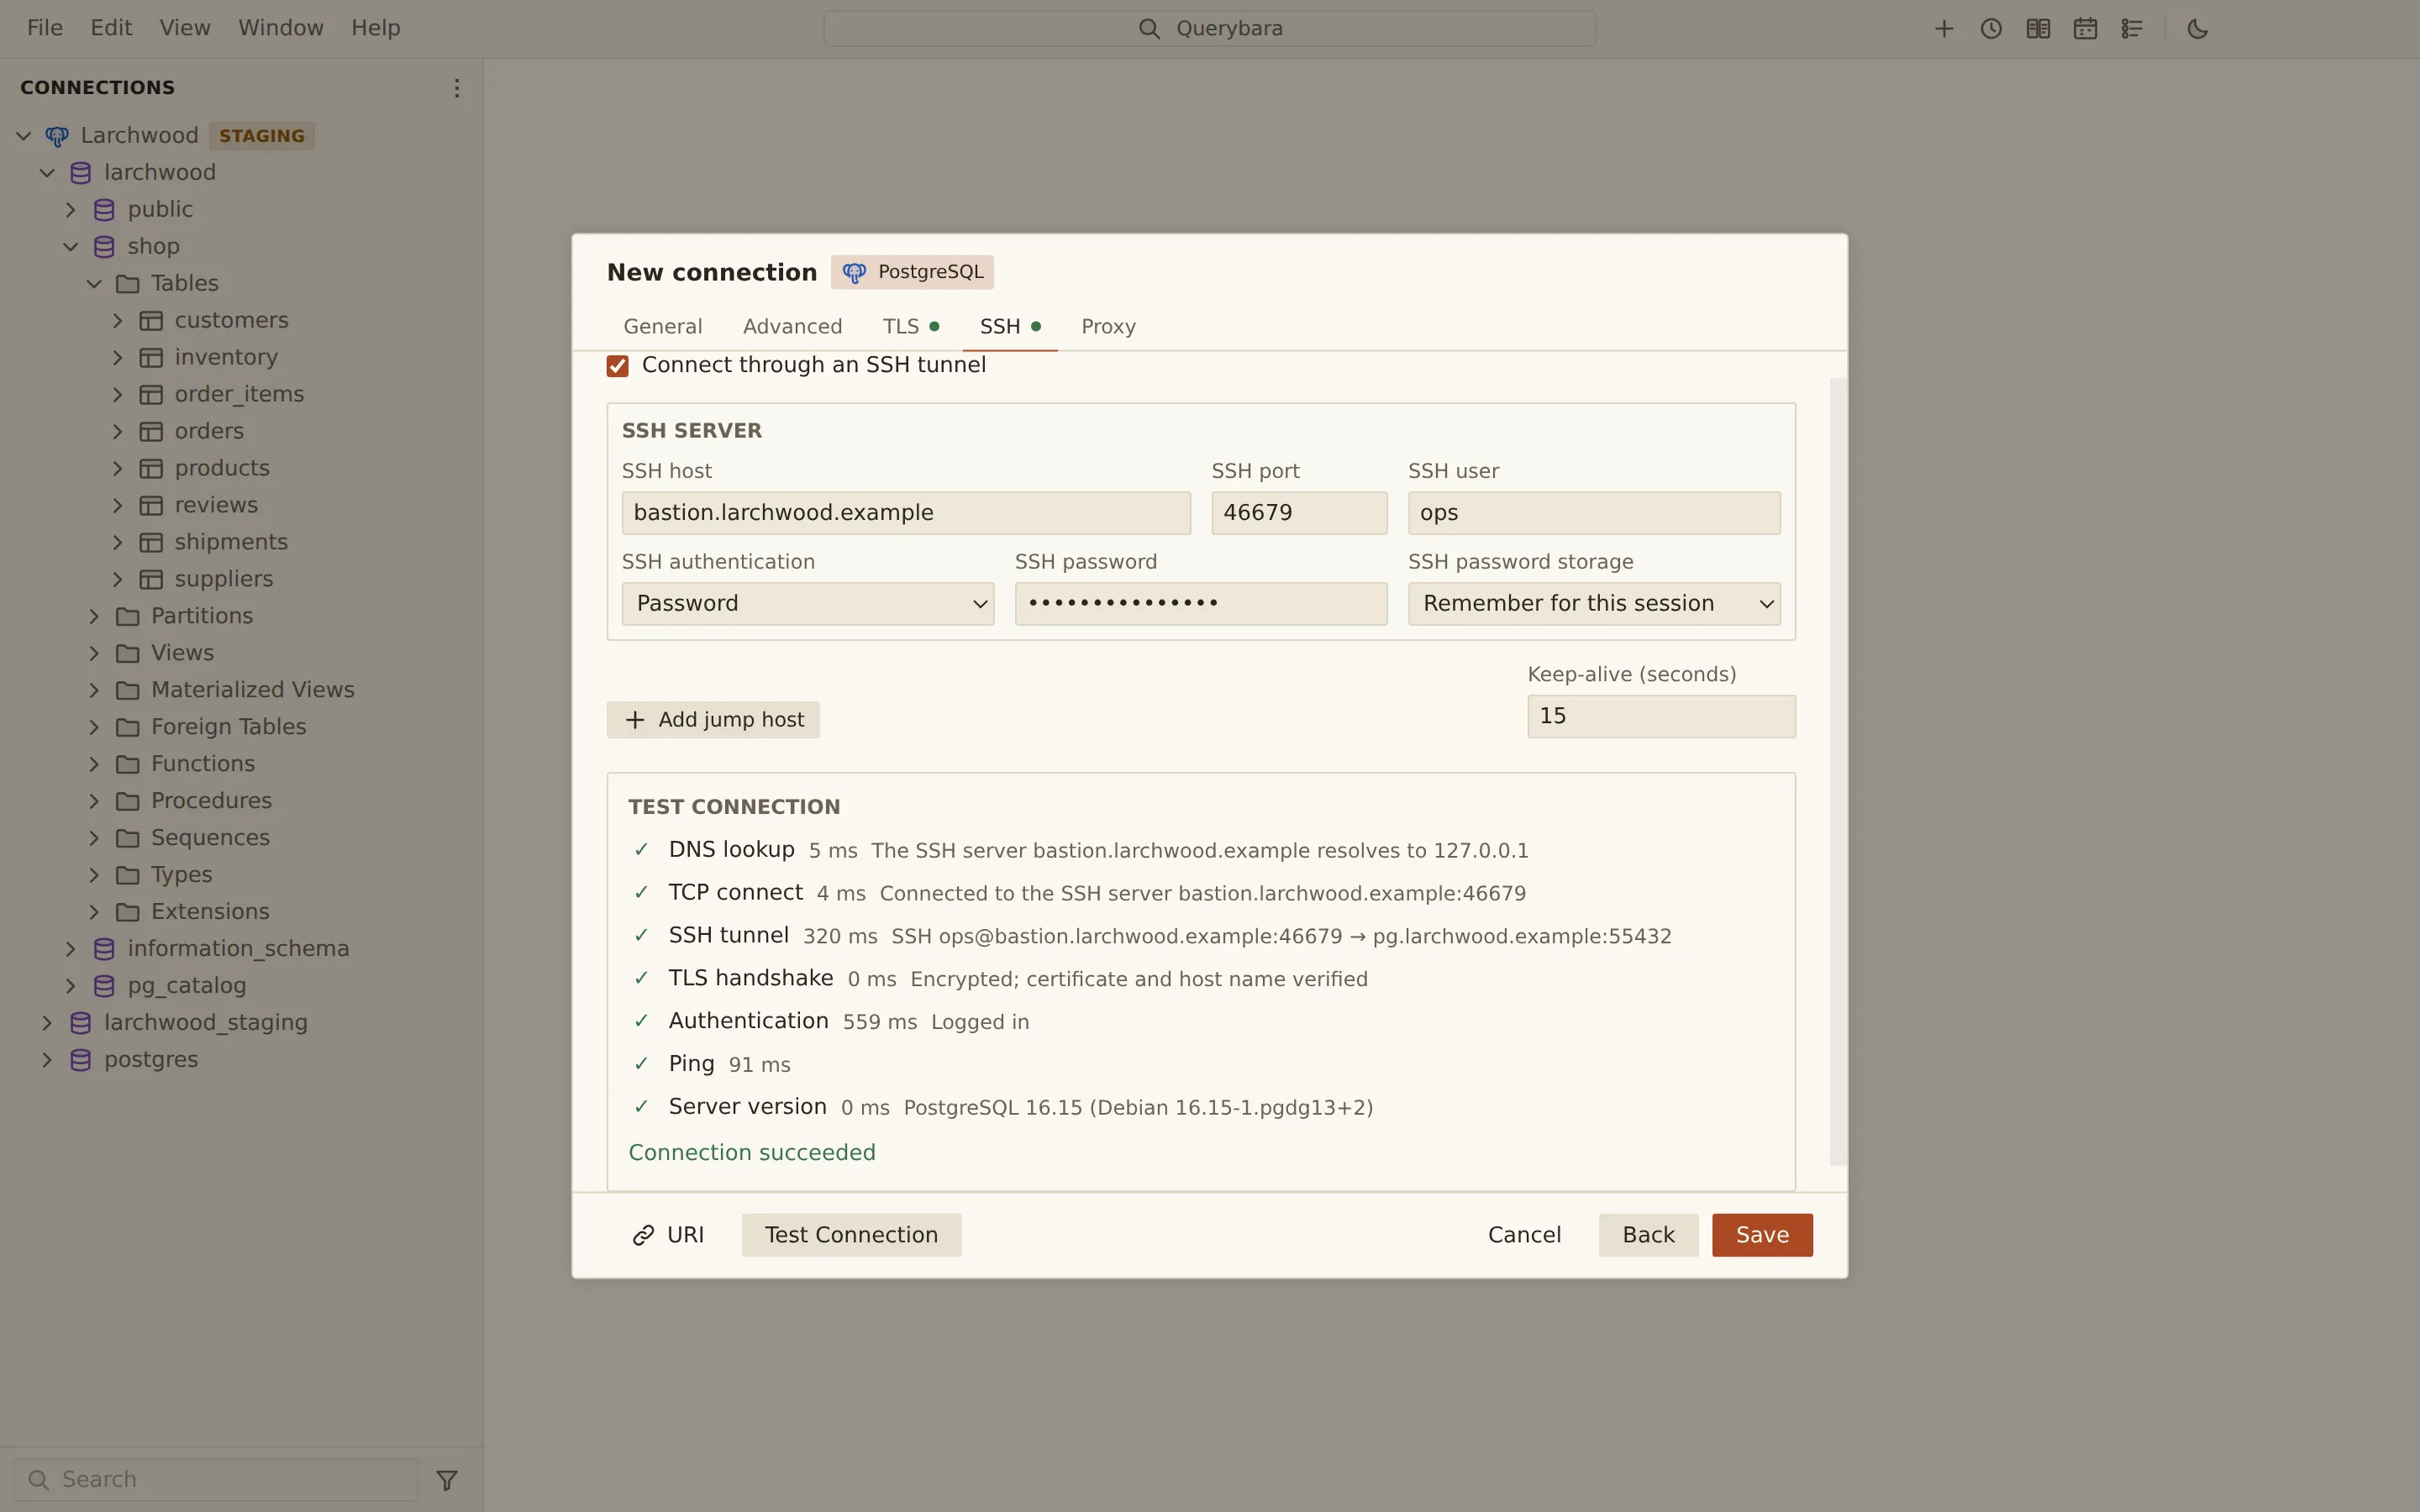
A failing step shows the error and a hint to fix it; the steps after it are skipped. You can test before you save. Test Connection explains each step.
If a field is missing or wrong, Test Connection and Save open the tab that holds it and put the cursor in the field. A tab with a problem shows a red dot.
Choose Save. The connection appears in the side bar.
Connect and run a query
Section titled “Connect and run a query”-
Double-click the connection in the side bar, or select it and press Enter. A single click only selects it. While Querybara connects, a small spinner shows at the end of the row. Once connected, the engine icon shows in full colour, and a chevron folds and unfolds the connection’s tree.
If the password is set to Ask every time, a dialog titled Connect to and the connection’s name asks for it first.
-
Choose New query (the plus button at the right of the title bar), or press Cmd + T (Ctrl + T on Windows and Linux). You can also open the connection’s actions menu (right-click it, or the Actions button) and choose New query tab.
-
Type a query, for example:
select c.name, c.city, count(o.id) as orders, sum(o.total) as spentfrom shop.customers cjoin shop.orders o on o.customer_id = c.idgroup by c.name, c.cityorder by spent desclimit 20; -
Choose Run, or press Ctrl + Enter (Cmd + Enter on macOS). Querybara runs the selection, or the statement at the cursor. Run all runs every statement in the tab.
The rows stream into the grid below the editor. Errors and notices go to the Messages tab.
To browse instead, click a table in the side bar: its rows open at once. Click a database or a schema to list what it holds in the Objects tab.
From the command line
Section titled “From the command line”The querybara tool reads the same saved profiles, so you can test and query a profile by name:
querybara test shop-devquerybara query shop-dev -e "select count(*) from shop.orders"Related
Section titled “Related”Documents Querybara 0.1.1 · built frombc9f5aa